By checking your camera beforehand, you can confirm that your device is ready, your lighting is appropriate, and your appearance is clearly visible to others. A properly tested camera helps avoid last-minute technical issues, improves communication, and creates a more professional impression. A Google Meet camera test is an essential step before joining any online meeting, class, or virtual interview. Whether you are working remotely, attending online lectures, or collaborating with a team, ensuring that your camera is functioning properly can make a significant difference in how you present yourself.
Why Testing Your Camera Before a Meeting Matters
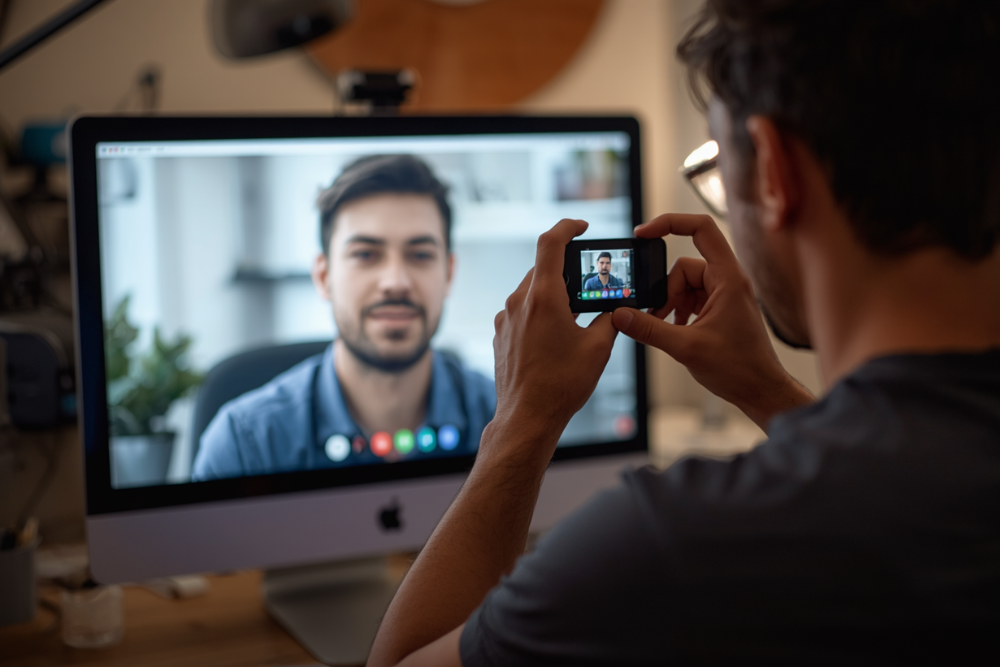
Testing your camera before joining a Google Meet session ensures that everything works smoothly when it matters most. Many users overlook this simple step and end up facing problems such as a blank screen, poor video quality, or incorrect camera selection. These issues can interrupt meetings and create unnecessary stress.
Common Camera Issues in Google Meet
There are several common problems users face when using their camera on Google Meet. One frequent issue is the camera not being detected by the browser. This can happen due to missing permissions or outdated drivers. Another common problem is poor video quality, which may be caused by low internet speed, weak lighting, or low-resolution camera settings. Sometimes, the camera may already be in use by another application, preventing Google Meet from accessing it. Identifying these issues during a test helps you resolve them quickly.
How to Perform a Google Meet Camera Test
Performing a camera test is simple and does not require advanced technical knowledge. Start by opening your browser and accessing Google Meet. Before joining a meeting, you will see a preview screen where your camera feed appears. This preview allows you to check if your camera is working correctly. Make sure your face is clearly visible and properly centered. If you do not see any video, you should check your device settings and browser permissions.
Checking Camera Permissions
Camera permissions play a crucial role in whether Google Meet can access your device. If your camera is not working, it may be because your browser has blocked access. You can fix this by going to your browser settings and allowing camera access for Google Meet. Once permissions are granted, refresh the page and check if the camera starts working. This step is especially important for first-time users or those switching devices.
Adjusting Camera Settings for Better Quality
Improving your camera quality can enhance your overall meeting experience. Position your camera at eye level to create a natural and engaging angle. Ensure that your face is well-lit by using natural light or a desk lamp. Avoid sitting with a bright light source behind you, as it can make your face appear dark. If your camera supports higher resolution, adjust the settings to improve clarity. A clean camera lens also helps in maintaining sharp video quality.
Testing Camera on Different Devices
Google Meet can be accessed on laptops, desktops, tablets, and smartphones. Each device may have different camera configurations. Testing your camera on the device you plan to use is important because performance can vary. For example, a smartphone camera may offer better quality than a built-in laptop camera. By testing in advance, you can decide which device provides the best video experience.
Troubleshooting Camera Problems
If your camera is not working during the test, there are several troubleshooting steps you can try. Restart your browser or device to resolve temporary glitches. Make sure no other application is using the camera. Update your browser to the latest version, as outdated software can cause compatibility issues. You can also check your device’s camera drivers and update them if necessary. These simple steps can fix most camera-related problems.
Importance of Internet Connection
While testing your camera, it is also important to consider your internet connection. A slow or unstable connection can affect video quality, causing lag or blurry visuals. Make sure you are connected to a stable network with sufficient speed. If possible, use a wired connection or sit close to your Wi-Fi router to improve performance. A strong connection ensures smooth video streaming during meetings.
Creating a Professional Appearance
A camera test is not only about checking functionality but also about preparing your appearance. Choose a clean and clutter-free background to maintain a professional look. Dress appropriately based on the type of meeting you are attending. Make sure your posture is upright and your face is clearly visible. These small details can leave a positive impression on others during virtual interactions.
Benefits of Regular Camera Testing
Regularly testing your camera can save time and prevent unexpected issues. It allows you to stay prepared for meetings and ensures consistent performance. Over time, you become familiar with your device settings and can quickly fix any problems that arise. This habit is especially useful for professionals, students, and anyone who frequently participates in online meetings.
Final Thoughts
At TestYourHardWare, a Google Meet camera test is a simple yet powerful step in ensuring a smooth and professional virtual meeting experience. By taking a few minutes to check your camera, permissions, lighting, and internet connection, you can avoid disruptions and communicate effectively. Whether you are attending an important business meeting or joining an online class, being prepared with a properly tested camera helps you present yourself with confidence and clarity.